Valentines Snowgirls. . .

Hello my friends,
last week craft group #2 had a fun day creating Valentines Snow girls.  I must admit, that it didn't start out fun, but by the end we were all pleased with the results.
 
This is my little princess that I dubbed, 'Ruby'.  It may have to do with her ruby red lips.  (wink)
 
She's holding a heart scepter and wearing her golden crown.  Not long after I created her cupid flew by and dropped an arrow at her feet.  We took it as a sign that she's soon to meet the
 perfect snow man.  :)
 
 
I wasn't able to take photos along the way because my hands were covered with glue, but this is how her life began.  One of our talented members, Shirley from Zetta's Aprons put kits together for us.  It contained a  small round Styrofoam ball and an oval one as well.  Two little dowels, which we used for legs and some warm and natural batting.  We were told to bring white glue, a toilet paper roll, something for a base, and anything we might want to use for embellishments.

 
The heart box was one that I received from my friend, Joanne. Using Modge Podge;  I simply added turquoise glitter to the top.
 
We cut the warm and natural into circles and stretched it over the Styrofoam pieces, gluing along the way. We also had to do a bit of trimming at the bottom.  We learned that there are different thicknesses of warm and natural.  The thinner is easier to stretch.  Afterwards we glued the round ball to the oval shape with hot glue.  Then we brushed the body with modge podge and sprinkled her with clear glitter.
 
We gathered crepe paper by hand with needle and thread and wrapped it around three times to make her skirt full.  We wrapped and glued a thin strip of warm and natural around the wooden legs.  I made my shoes out of sculptey clay, painted and glittered them as well.
 
Her eyes and buttons are peppercorns.  I cut her tiny red lips out of cardstock, and the toilet paper roll was used to create the crown.  I used a white pipe cleaner for her arms.  The others wrapped theirs with warm and natural.
 
Even though I doubted her existence at first, (had thoughts of putting her in file #13) I must admit that Ruby makes me smile whenever I catch a glimpse of her. 
 
 Now let's meet some of her friends. . .
 
Shirley created this one ever so cute in her party hat.
 
 
This photo shows the darling base she made ahead of time.
 
 
Kimi came up with the creative idea to make her hat out of warm and natural as well.  Her base is simply a gift box
turned upside down.

 
Margo's is all dressed up in a sheer skirt adorned with hearts.

 
Joanne was not 'feeling' her little snow girl on Tuesday, but finished her the next day.  And didn't she turn out ever so sweet?  Love the boa!!

 
Ann and I both finished adding embellishments to ours at home.  She used a tart tin for her little princess to stand on.

 
When it comes to crafting, things don't always go as smoothly as you think.  But we all stuck with it and in the end are pleased with our little Valentines snow girls!
 
Have you created anything fun lately?
 
hugs,
Jann
 

Share Your Cup #234

Hello and welcome to Share Your Cup, (SYC for short).


The party where you share what makes you happy.
 
It's what I like to call, "filling your cup".
 
I am elated that it is February!  I love decorating for Valentines, (may have something to do with the red lover that I am); and it also means that Spring is drawing neigh.  :)
 
Last week I shared my Valentines tablescape in
 
 
And our first DIY project of '2017'
 
 
Now for the features from SYC #233
(Now and then there is a link I want to feature, but see no link back to Share Your Cup)  :(
 
Kiki Nakita shared her beautiful master bedroom and closet.  Talk about being organized!
 
 
Patti from Old Things New used some things she had around the house to create this sweet rose heart.


Dany from My Little Old World shared the interesting history on how to make gorgeous Victorian wax flowers.


Janet from Curtains in My Tree shared some of the things that she has, "laying around" that make her happy.  They make me
happy as well!
 
 
Marie from Interior Frugalista turned a ho hum piece from IKEA into a fabulous apothecary cabinet!
 
 
Mr. Deanie found the most amazing piece for Dianne from
 Deanies Stash  They cleaned it up and it's perfect for holding some of her craft supplies!
 
 
Thanks so much for sharing and please grab my button if you were featured.
 
 
Now let's party!
 
1.  I would love for you to be a follower of Have a Daily Cup of Mrs. Olson
2.  Link up a particular post and not your entire blog. Please limit your links to no more than three.
3.  Please have a back link to this post.  That way others will know where the party is.
  Only those with a back link will be featured.
 4.  Please find time to visit at least two other participants.
It's a great way to find new friends!

After you link up, please come back and leave a comment.  They help to fill my cup! 
 

DIY Shiplap in the Bedroom. . .

Hello my friends, hubby and I recently finished our
 first project of '2017'
 
Joanna Gaines has gotten many of us in a tizzy wanting to add shiplap to our homes. :)
 A few years ago I had mentioned to my hubby that I wanted to run bead board horizontally in my sewing room.  I had seen it in a magazine, but had never heard of shiplap.  Well, I didn't want to wait, so I ended up just painting it.
 
 
Still, visions of shiplap ran rampant through my head.  Next, I thought it would be fun in my laundry room.  Hubby agreed to take on the project.  When I was down loading my car with items from my friends Aunt's estate, hubby found a  U-Tube Video showing just how to do it.  When I returned home he said that the laundry room was going to be a bit of work because he'd have to cut around all the cabinets.  So I suggested doing just one
wall in our bedroom.
 
 
Loving the look!
 
This is what the wall looked like before.
I almost forgot to take a photo.  This was when I had stripped the bedding and we were getting ready to pull the bed out of the way.
 
 
The wall really was a softer yellow.  I wasn't tired of it, just wanted shiplap.  lol!  Telling it like it is.


It gave the room a farmhouse feel, don't you think?


One thing leads to another.  :)  Now I need a new lamp.  I already dropped my old one off at our local thrift shop.


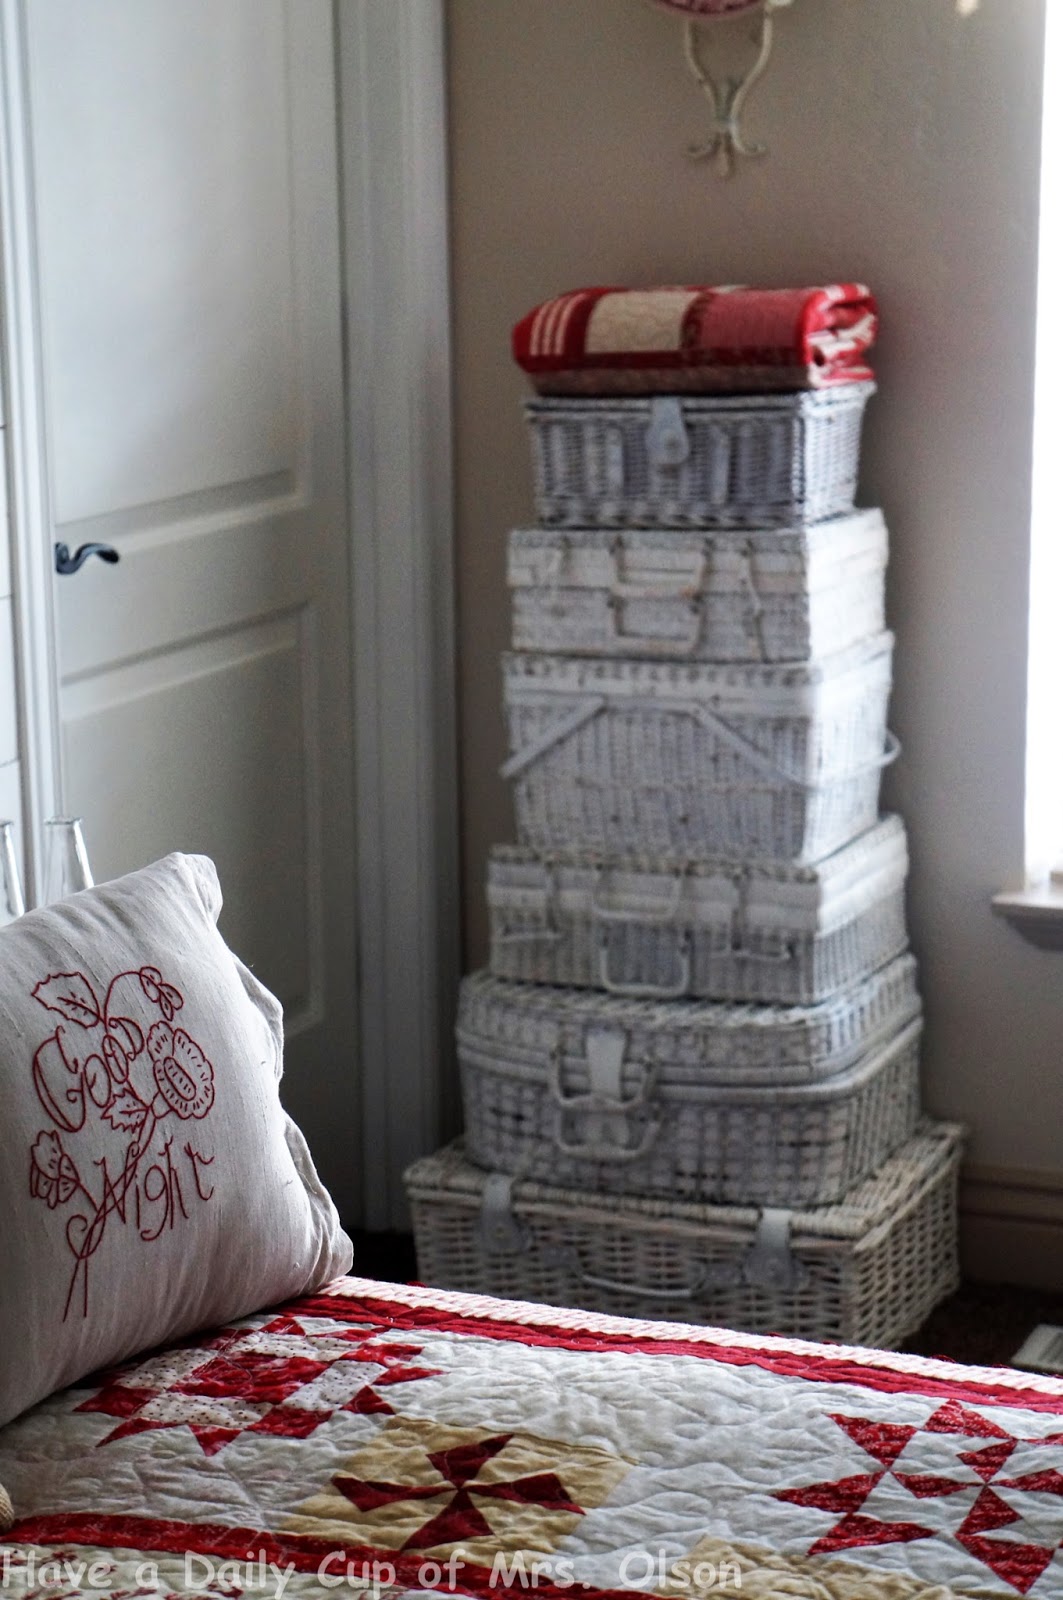
Did you notice the wicker picnic hampers in the corner?  When I was painting the shiplap, I got paint happy and painted them as well.  They use to reside in our family room, but now have a new home in the bedroom.
 
 
Not sure if I love them, but oh well; it's done!!
 
Not the greatest photo.
 
 
We cut our own 6" shiplap from 1/4 inch plywood sheets.
 
Primed with Kilz, sanded, and painted before we put them up.  Then all I had to do was touch up where the nail gun holes were.  We nailed and glued them up.  Do you know that you place a nickel in between boards for spacing?  I had no idea!


Yes, we did this in the kitchen.  Baby it was too cold outside!
 
I have one more plan for this room, but I haven't laid it on the hubs yet.  (wink)
 
hugs,
Jann


Candlelight and Romance

Hello my friends.
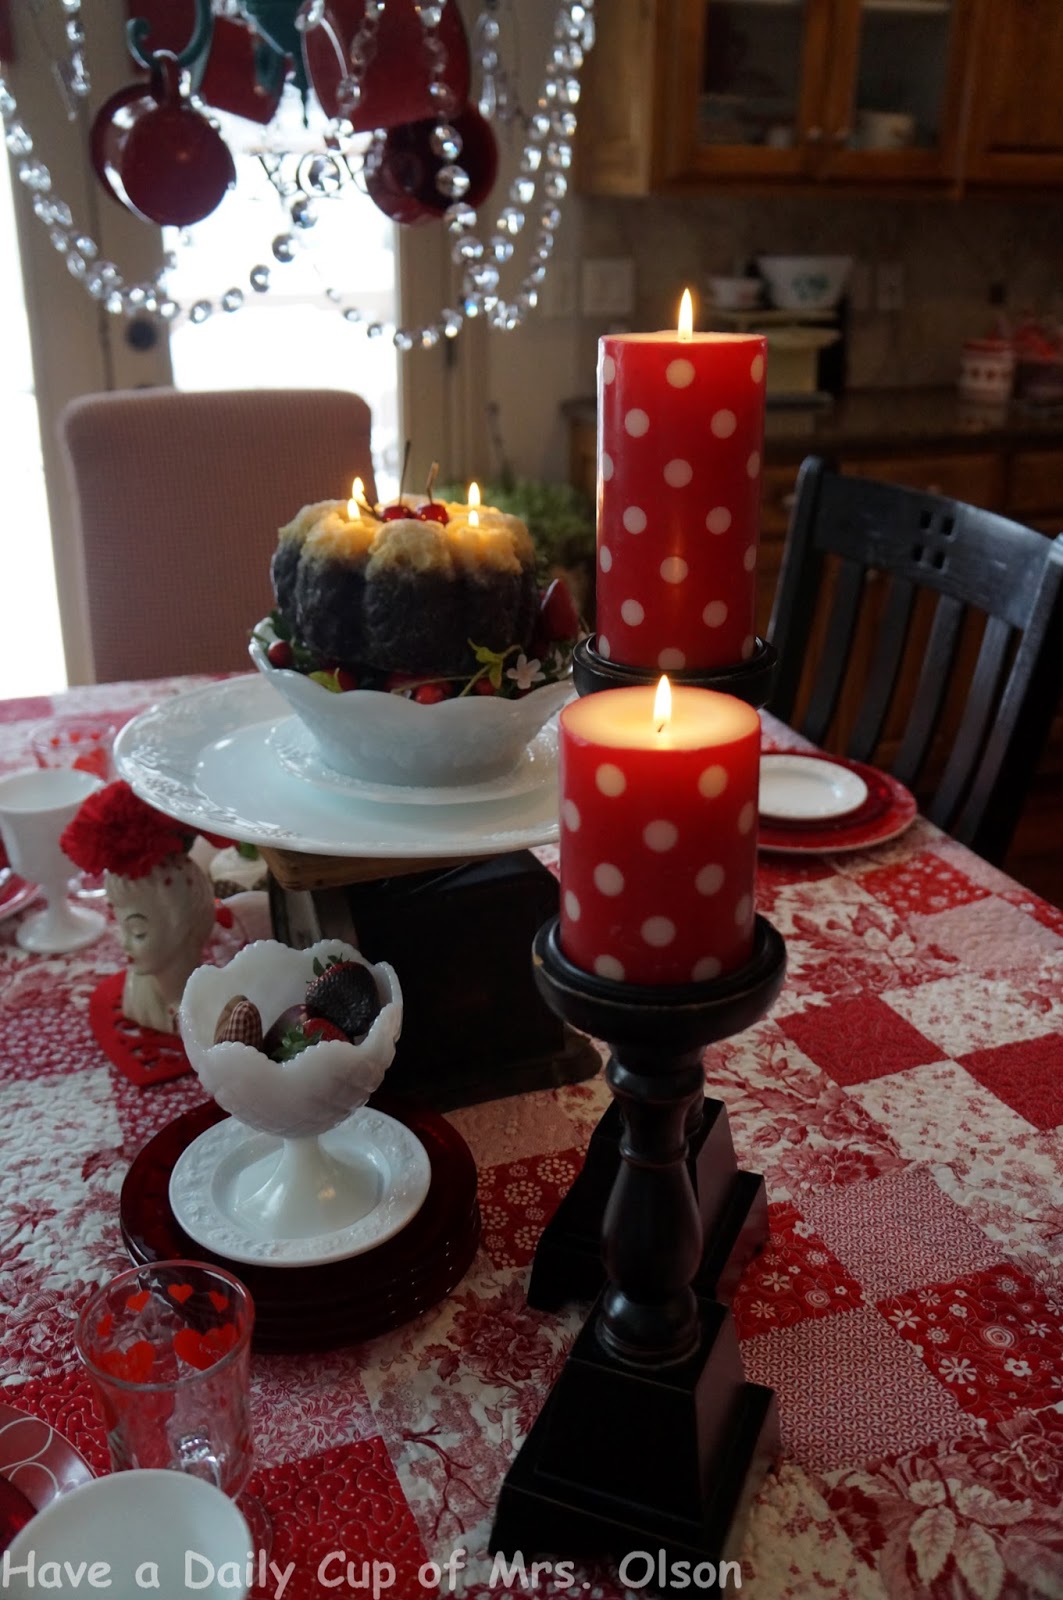
Nothing says romance more to me than a Valentines table set with pretty dishes and candlelight!
 
 
We've all heard the saying, "opposites attract".  Well, you won't find anything more opposite than crystals and tin cups.  :)
 
A bit of whimsy that I love!!
 
 
I had some strands of crystals so I added them to the chandelier and then I slipped tin cups onto some of the ends.

 
I started with a white plate that has a heart rim that I bought at Target a few years ago.  Next came a vintage red bubble plate.  Then I topped it off with a milk glass saucer.  Years ago I bought a set of 4 dinner and saucer plates along with 4 goblets and a serving platter from my older sister.  Our youngest son has the dinner plates.  I left them at our previous home for him to use when we moved and I keep forgetting to get them back.
 
 
I've had the heart glasses for a long time.  They were just a $1 store purchase, but I still think they are sweet.

 
I've picked up a few other pieces of milk glass over the years.  My collection isn't huge, and most of it holds bathroom necessities in our basement bath.

 
I mentioned a couple of weeks ago that I am hosting mini estate sales at my home to help out a friend with her Aunts estate.  She had over 50 head vases and I couldn't resist this sweet lady.  She screams 'Valentines' to me!
 
Everything is prettier on a vintage scale, don't you agree? 

 
Look at those ruby red lips.  Ohlala!!
Carnations from our local grocers top her off nicely.  (wink)
 
 
A little romantic candlelight.
 
 
This is one of my favorite quilts, and one of the easiest I've made as well.  I love the scallop border, the stripe binding,  and the polka dot back!
 
In fact, I couldn't decide which side to use up.  In the end. the pretty red and white squares won out.


This sweet basket was snagged at a yard sale for $2.  I use it to hold washcloths, but for now it holds hearts that I made using scraps.  I've added lace and little embellishments.


You know that this makes the red lover in me happy!
 
 
There are times that I just love my checkered chairs at the end of the table.  Valentines is one of those times!

 
I hope you find a little romance and candlelight this
Valentines Day!
 
hugs,
Jann

I will be sharing with these lovely parties:
Vintage Charm

Share Your Cup #233

Hello and welcome to Share Your Cup, (SYC for short).


The party where you share what makes you happy.  It's what I call, "filling your cup".  I believe that by sharing what fills your cup, you help to fill others cups as well.
 
I'm starting the party early today, because I've got a busy schedule.
 
I know that many of you are getting buried in snow like we are here.  I'm enjoying how beautiful it is, but the gardener in me is counting the days till spring.  :)
 
Last week I shared my Valentines mantle and
 Pom Pom Garland.  I love Valentines Day and this week I am having fun pulling out the rest of my décor.
 
 
Now for the features from SYC #232:
 
Amy from A Day of Small Things shared how she made her home feel cozy after the Christmas holiday. Love these old suitcases!
 
 
Maria Elena from Our Home Away From Home shared the fabulous new built in bench her husband built for her.
 
 
Tuula from Thrifty Rebel shared a beautiful poem she wrote called, "Stillness"
 

Lora B turned a Christmas white elephant gift into darling Valentine décor.


Melissas Antiques shared her newly stocked booth full of vintage treasures.
 

Sherri from To Simply Inspire shared her recipe for this yummy Cilantro Lime Chicken soup.
 
 
Thanks for sharing with SYC and please grab my button if you were featured.


Instagram